MCP
MCP (Model Context Protocol) is an open JSON-RPC based protocol for connecting LLMs to tools, services, and data.
Connect an MCP server when Explyt's built-in tools are not enough. For example, through MCP the agent can read a task from a private tracker, request data from an internal service, or perform an allowed action in GitHub. Add a suitable server, connect it, and allow the tools you need in the Tools menu.
For more about the protocol, see the MCP documentation. A curated list of servers is available in the Model Context Protocol repository.
Choose a connection type
Open Settings → Tools → Explyt → MCP Servers, click Add Server, and choose the configuration scope. The connection type depends on where and how the server runs.
STDIO
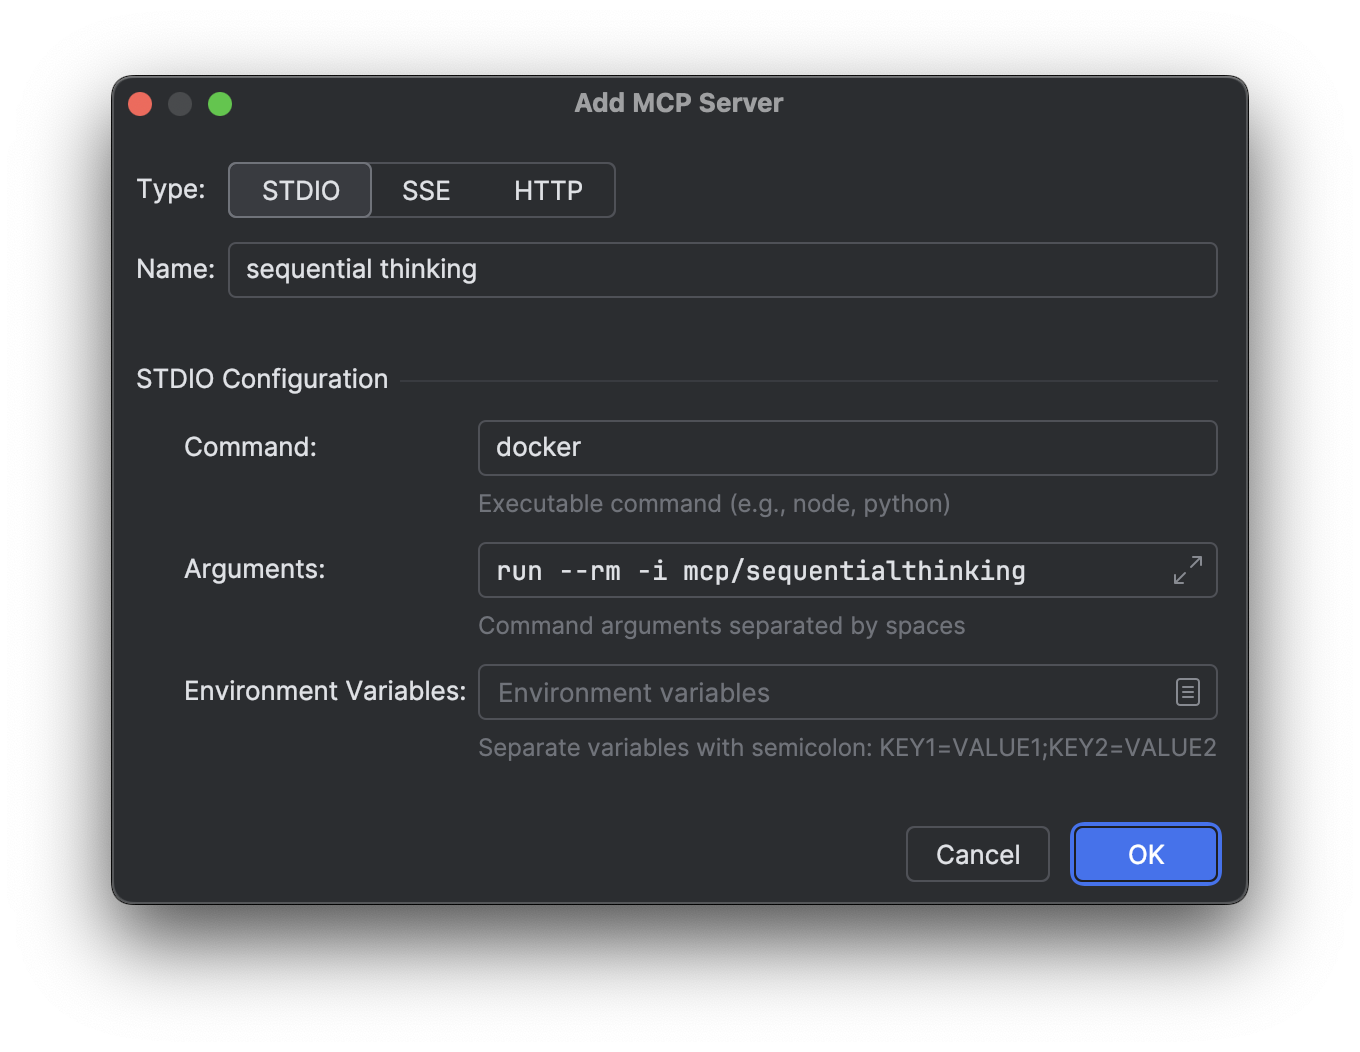
Choose STDIO if the MCP server is started by a local command or CLI on your machine. For example, this works for a server shipped as an npm package, an executable, or a Docker image.
- Verify the startup command outside Explyt: the required packages and Docker images must be available.
- Click
 Add Server and choose STDIO.
 - Specify the command and its arguments.
- Save the configuration and connect the server.
HTTP
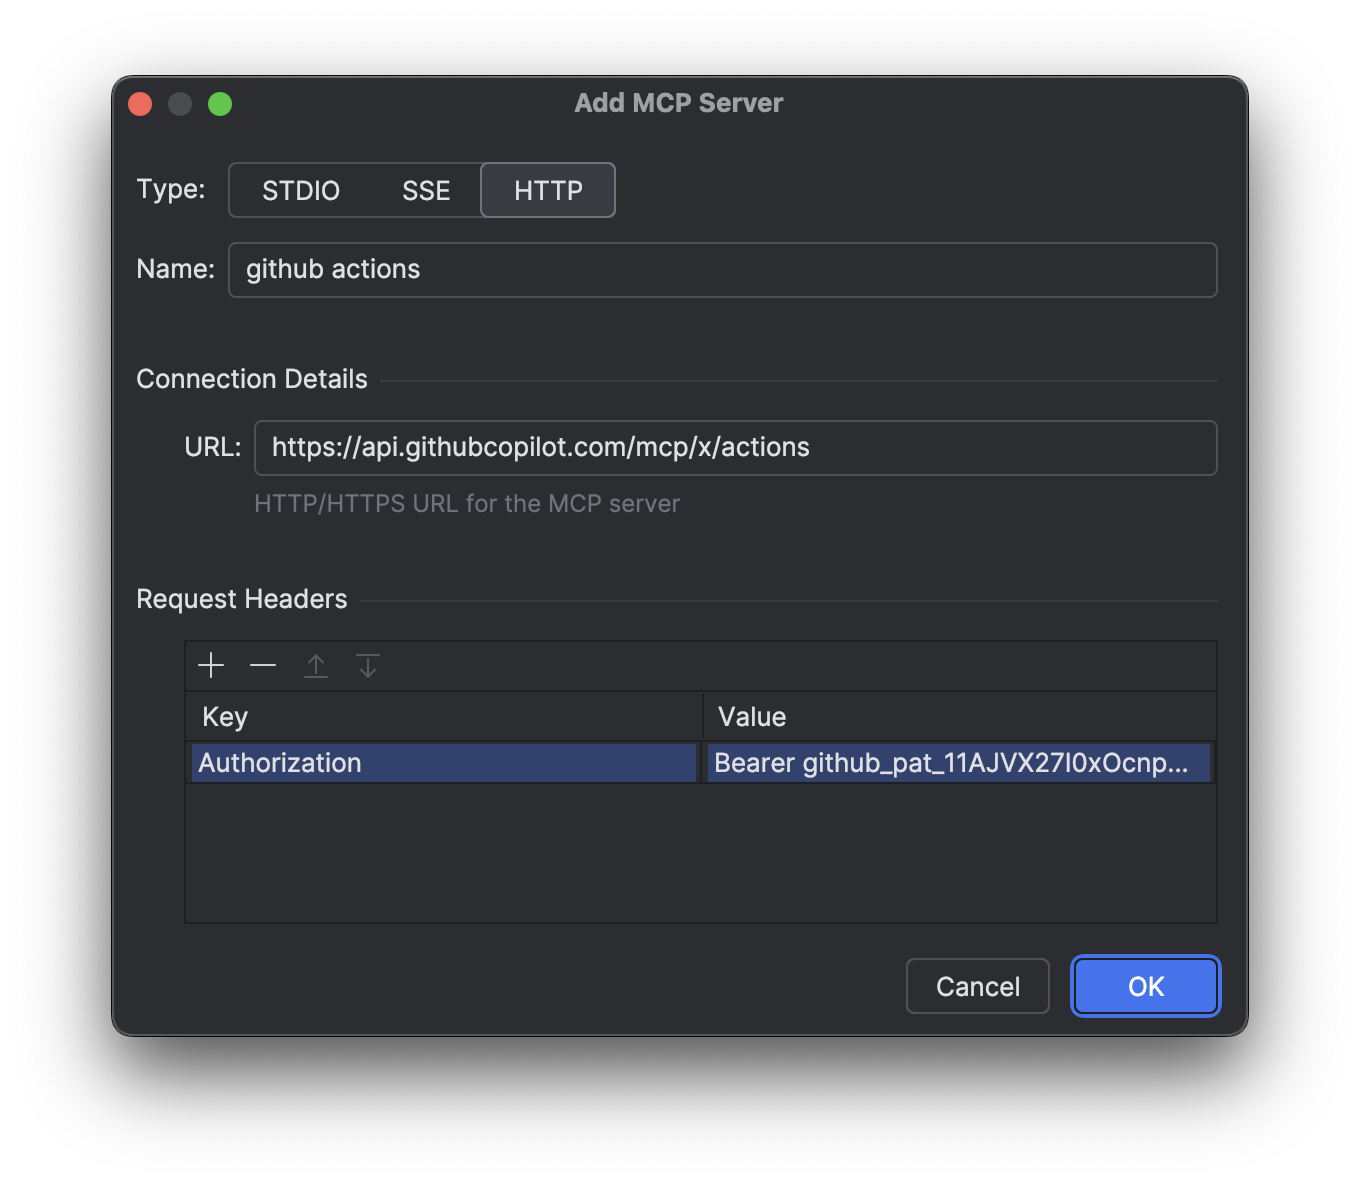
Choose HTTP if the server exposes a remote streamable HTTP endpoint. Specify the URL, add any required headers, and connect. This option fits modern network MCP services that do not need a local process.
SSE
Choose SSE only if the server documentation specifies a Server-Sent Events endpoint. This is a separate network transport for servers that do not use streamable HTTP yet. Specify the SSE URL, add any required headers, and connect.
Request Headers
Fill in Request Headers when a remote HTTP or SSE server requires authorization or mandatory service headers. Get the values from the server owner and add name/value pairs. It is better to inject secrets from environment variables, as described in Environment variables in configuration.
Connect a server and allow tools
You need the Connect button before a task in which the agent should use the server's tools. Select the configuration, click  Connect, and wait for the Connected status.
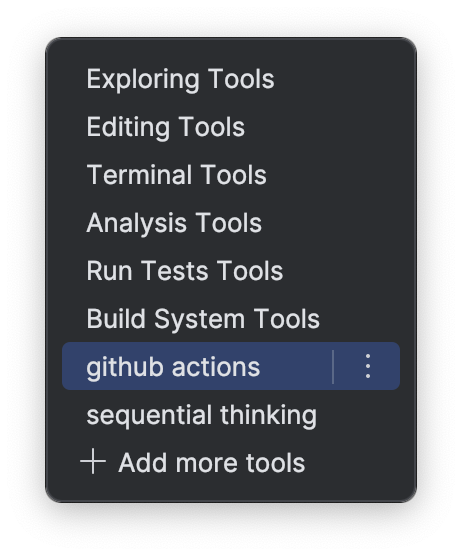
Once connected, open  Tools in the chat header. Select the server and allow only the tools the task needs. For more about access modes, see the Tools menu description.
Built-in JetBrains MCP server
The built-in JetBrains MCP is useful when the agent needs IDE capabilities that are published through MCP and missing from Explyt's enabled built-in tools. Enable the MCP server in the JetBrains IDE settings, then open the MCP settings in Explyt and connect the JetBrains MCP card.

Automatic connection is enabled by default. Leave it on if you need JetBrains MCP in most chats: Explyt connects the server as soon as the IDE is ready. Turn it off if you rarely need the server's tools or they should not appear without an explicit action; in that case, connect the server with the Connect button before a task that needs it.
Large servers and MCP subagents
A large MCP server can provide dozens of tools. For example, GitHub MCP can read issues and pull requests, work with notifications, and perform other operations. Connecting all of these definitions directly consumes context and brings the request closer to the hard limit of 128 tools.
When the combined number of enabled MCP and built-in tools exceeds an internal threshold, Explyt automatically represents a large server as a single tool and hands the task to an MCP subagent. You do not need to switch modes manually: connect the server and state the task, for example "find the related issues and check the discussion of the fix". The full command set stays inside the subagent and does not take up the main agent's context.
Check the progress of a call
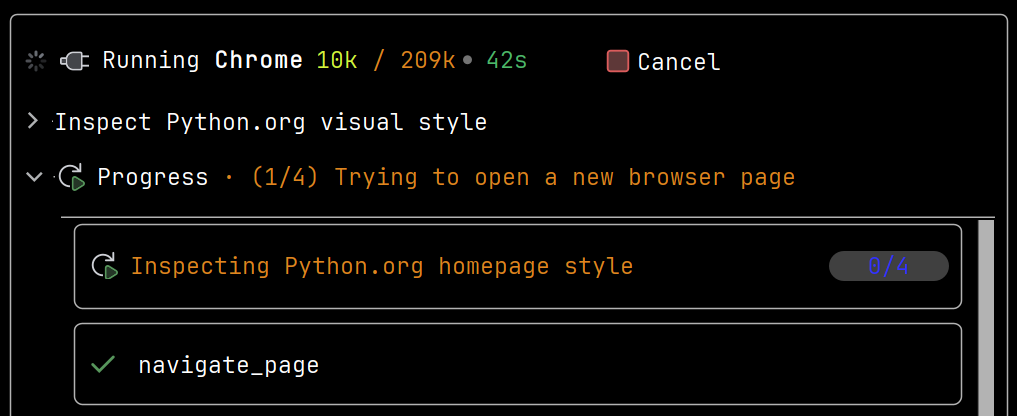
Expand the Running <mcp_server> panel if a call is taking a long time or you need to understand what the subagent is doing. The Progress block shows the tools it calls. This helps you spot a wrong direction before a long operation finishes.
Once it completes, expand the Finished block if the short result is not enough. It contains the outcome and diagnostic details of the call, which are useful when verifying a result or investigating an error.
Files and other data in MCP responses
An MCP server can return more than a short piece of text. Explyt materializes supported data into separate temporary files and gives the agent a path and metadata instead of base64 or large content in the context.
- Image. Use this kind of response when the server produces a screenshot, a diagram, or a visual report. After the call, open the resulting attachment or ask the agent to analyze it.
- Audio. Use this kind of response for a recording or generated sound. After the call, the file is available as an attachment rather than as encoded text.
- Embedded binary resource. Suitable for an archive, a document, or another file returned by the server. Explyt saves the resource so the agent works with the file by path.
- Embedded text resource. Suitable for a large log, report, or dump. Explyt moves the text into a file so the content does not fill the whole context; the agent can read a specific range separately.
Attachment size is limited. If the server returned a resource that is too large or unsupported, check the call message and ask the server for a smaller result or the specific fragment you need.
Global and project configuration
Choose the scope when you add a server:
- Global for a personal server you need across projects, for example your own notes server or GitHub. The configuration is stored in
~/.explyt/mcp_servers.jsonon Unix and%USERPROFILE%\.explyt\mcp_servers.jsonon Windows. - Project for an integration specific to a repository or a team, for example this project's internal tracker. The configuration is stored in
.explyt/mcp_servers.jsonat the project root and can be versioned along with it, as long as the file contains no secrets.
A global and a project server can have the same name. In that case the project entry takes precedence over the global one, so use the same name when you want a repository setting to replace your personal configuration.
Open Config File
Open the JSON with  Open Config File when you need to paste a ready-made configuration, move several servers at once, or set fields that the form does not expose. Choose the global or the project file, make your changes, and save it.
Refresh Servers
Click  Refresh Servers after
 mcp_servers.json has been changed manually or externally. Explyt re-reads both configuration scopes and updates the server list. Then connect the entries you need.
Environment variables in configuration
The ${VARIABLE_NAME} placeholder lets you keep secrets and machine-specific values out of the JSON. The name must start with a letter or _, and can then contain letters, digits, and _.
- In the
argsof a STDIO server, use a variable for a token, a local path, or another argument that differs between machines. Set the variable in the IDE environment, insert the placeholder into the relevantargselement, and refresh the servers. - In the
headersof an HTTP/SSE server, use a variable for the authorization token. Set the variable in the IDE environment and substitute it into the header value.
Substitution does not work in the URL, in command, or in the env object. If a variable is not set, Explyt cannot resolve the configuration.
{
  "my-server": {
    "type": "http",
    "url": "https://api.example.com/mcp",
    "headers": {
      "Authorization": "Bearer ${MCP_TOKEN}"
    }
  }
}
Enable several disconnected servers
If a task needs several disconnected integrations at once, select the corresponding servers in the MCP settings and click Connect. Wait for the statuses to update, then check the tools you need in the Tools menu. To have servers reconnect after the IDE starts, enable Reconnect to servers on startup.
Example: GitHub MCP
You need GitHub MCP when the agent has to read an issue or a pull request, find details in a repository, or perform an allowed GitHub action from the chat.
- Create a GitHub token following the official guide. Grant the minimum permissions for the operations you need and, where possible, restrict access to selected repositories. For read-only use, do not grant write permissions.
- Store the token in the
GITHUB_MCP_TOKENenvironment variable. - Add the server to the global file if you need it across projects, or to the project file for a single repository:
{
  "github": {
    "type": "http",
    "url": "https://api.githubcopilot.com/mcp",
    "headers": {
      "Authorization": "Bearer ${GITHUB_MCP_TOKEN}"
    }
  }
}
- Open
Settings → Tools → Explyt → MCP Servers, click Refresh Servers, and connect GitHub. - Allow the GitHub tools you need in the Tools menu. Test the connection with a safe read operation first, for example ask the agent to open a specific issue.